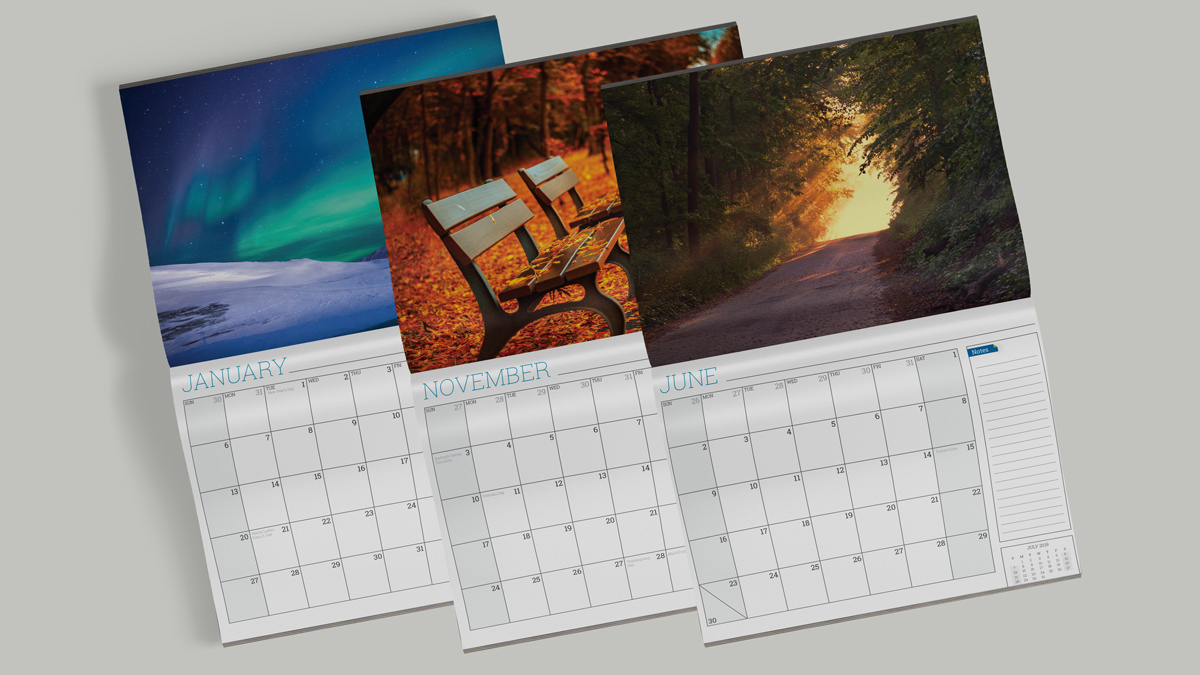
We're getting closer to the end of 2018 and you know what that means? It's time to order your 2019 calendars! If you've already got your calendar design in mind, head on over to our calendar product page to begin preparing your order so you can upload your design files. Otherwise, it's time to get started on designing your new calendar!
We have some exciting news for customers who are preparing to print their business or organization’s 2019 calendars and don't have a design for them yet! Conquest Graphics now offers a customizable calendar creator that allows anyone to change certain elements of the design to create their own branded organizational or business calendars. This new creator tool allows customers to see a visual of the final design as they change certain elements so they can have an idea of how the final design will turn out.
While any of these elements can be left blank to leave with default images or no information, the following elements of the calendar’s design can be changed:
- Organization or business name
- Organization or business address
- Organization or business logo
- Calendar cover photo
- Calendar back photo
- Individual images used for each of the 13 months (calendar includes January of 2020)
So whether you’re looking to simply add your logo to an already gorgeous calendar print design or if you’re looking to make the whole thing look highly personalized to your business or organization, this tool will be perfect for you!
A step by step guide with screenshots of the process is included below for your convenience in ordering your own calendar prints.
Step 1 — Before starting in the calendar editor, select the images, logos, and business info (listed above) as it relates to your business and what you want to appear in your calendar.
Step 1.5 — To make sure everything turns out perfectly and just as you’re seeing it while preparing it, be sure to take the following precautions and steps to ensure your prints are perfect! Start by making sure images are the proper resolution for good printing (300 dpi)
Next, ensure that they are in the appropriate color space (CMYK) instead of RGB.
And finally, make sure they are close to the right size. Each month’s image prints at 11.25in by 8.75in, which translates to 3,375 pixels by 2,625 pixels if your image is at the correct dpi (300 dpi).
Step 2 — Go to the calendar product on Conquest Graphics’ website.
Step 3 — Set the specifications for your calendar printing project, including your zip code, desired quantity, what kind of paper you’d like, and then make sure to select online design from the “Design Type” dropdown selector.
At this point, the add to cart button should change to say “Design” and when you’ve completed your order details, select it to move on to step 4.
Step 4 — Now’s the time to enter your business information and images for your version of the calendar to make it your very own. The default images on the cover, back, and for each of the months are placeholders, unless you like them and would like for them to be the images in your final printed calendar.

The above screenshot shows the very first page you should see after your calendar creator loads. Here you can see the various options on the left sidebar that are associated with the page that is shown. You can navigate between pages of the calendar by scrolling down. The pages are shown in the correct order, going from the cover, through the various months, and all the way through to the back cover.

For the cover, you can change the image shown, and you can add an optional logo that will appear in the bottom right corner of the cover, opposite the year.

The above image shows the next page, if you select to go through the months sequentially. The image that is set is a placeholder, or it can be used for your own business’ calendar if you prefer it over any you may be able to upload. Make sure the images you upload comply with the specifications in the previously listed “Step 1.5.” This will ensure your calendar’s images come with the correct quality, so your calendar can be as close to perfect as possible!

The above image shows another one of the navigation methods. You can select the month you’d like to edit information for from the dropdown menu as shown.

For the back cover, you have the option to upload your own personal logo, add your phone number, address (up to three lines) and website. You can also edit the background image.
If you’d like to have a plain color as your background image, feel free to upload an image of the right size and with the correct DPI that contains a plain color as the entire image.
Now you’re ready to hit “Confirm” to confirm your design and view your instant proof for approval. The instant proof allows you to scroll through the entire project and you can make sure everything looks A-okay before approving the proof and continuing on to complete your order as usual.
Calendar orders for 2019 calendars will be accepted all the way into the new year, so it’s never too late to begin a calendar order!
Click Here to Begin Creating Your Calendar!
New Customizable 2019 Calendar Creator Available Now
Conquest Graphics is pleased to present a new option for customers who are interested in printing their own, personally branded calendars for their business or organization.
By Conquest Graphics


