Banners are an affordable, effective way to draw attention to your business. With their large display and various formats, they are perfect for any industry and budget.
We've covered the basics of ordering custom banners, but when it comes to design, you need to create a banner that stands out and attracts your target audience. This can be easier said than done. Luckily, we've put together several key steps for easily creating a banner for your business.
Step 1: Determine Your Goals & Display Location
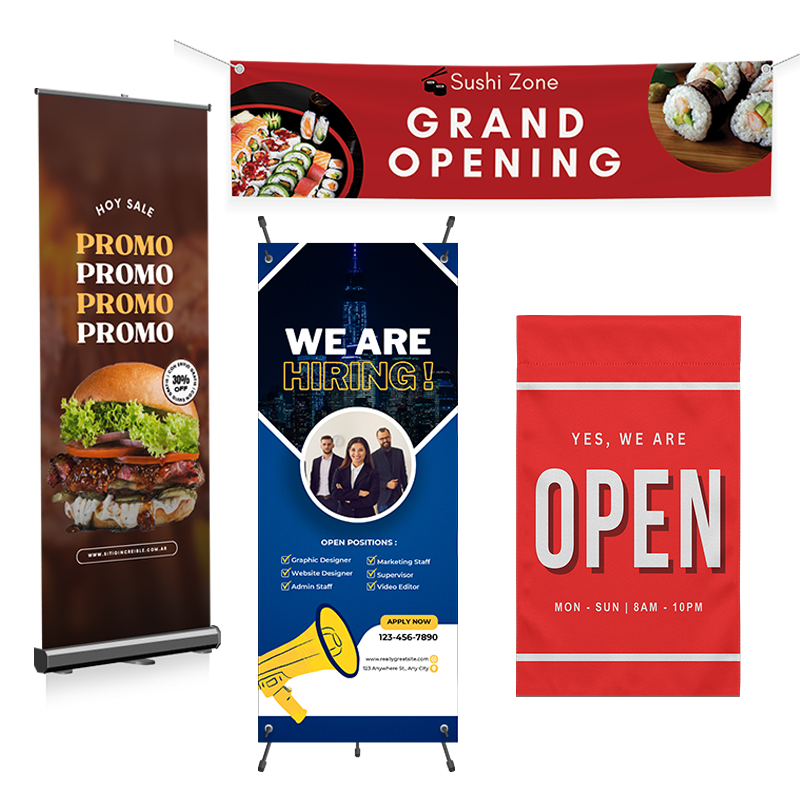
You need to outline your main ideas and expectations before designing your banner. Figure out the purpose your banner will serve and the location where you will display it so you can determine the banner size you need to design. In addition, you need to plan for your budget and determine how many banners you will need. Sometimes, companies may order multiple types of banners in various sizes for events or one large one to promote a sale. Other businesses may order a large hanging vinyl banner to advertise a grand opening or promotion. It all depends on the goals your business has for its banner.
A few questions you should answer when getting ready for banner design include:
- What is the main goal for your banner?
- Who is your target audience?
- What is your main message/what are you promoting?
- What size banner will you need to promote your message effectively?
- What type of banner will best suit your business?
Step 2: Choose Your Type of Banner & Size
Now that you have determined your goals and the location where you will display your banner, it's time to decide on the type of banner and size that will promote your message best.
Think about how your banner will be displayed, how big the location where it will be showcased will be, and how far away your audience will be when reading it. For smaller locations, you want to choose a banner size that stands out but doesn't overcrowd the area. If you're displaying your banner at a tradeshow or area where there isn't an option to hang your banner, you'll need to choose a banner with a stand. In addition, if your audience is relatively far away when first viewing your sign, you'll want to ensure it is large enough and the design elements are bold and easy to understand from a far distance.
Here's an overview of the types of banners and their sizes, as well as a few examples of use to help you determine which is best for your business needs:
Hanging Vinyl Banners
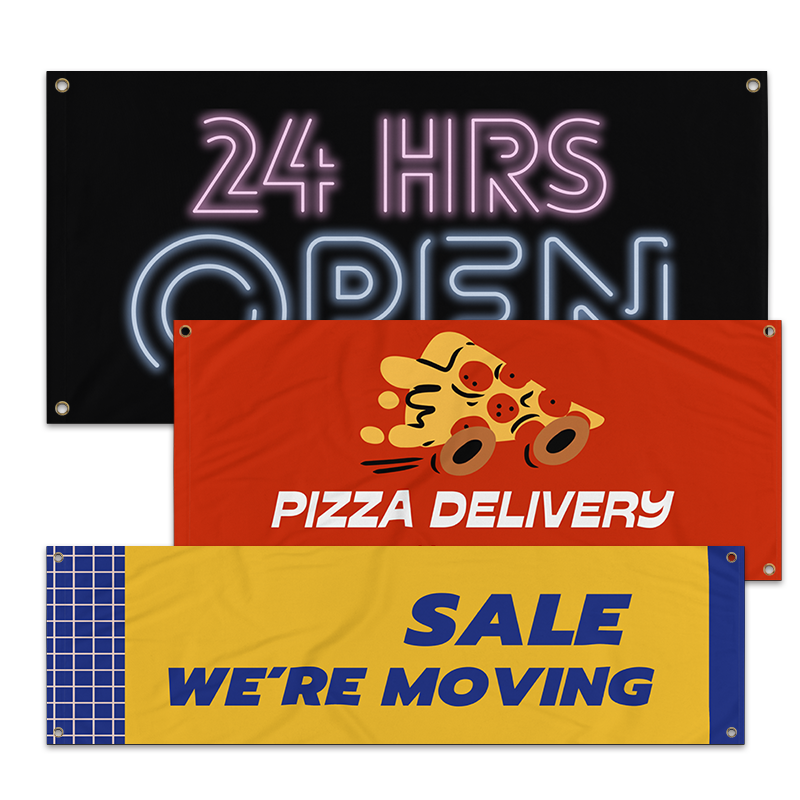
Custom hanging vinyl banners are effective indoor and outdoor marketing tools that can last anywhere from 1-12 years and beyond. These banners can be hung on walls, fences, ceilings, or draped over tables. Printed vinyl banners can come with either grommets or pole pockets to make it easy to display your message and promote your brand. These banners are suitable for any budget or goal as they come in various sizes ranging from small 1' x 3' displays to extra-large 8' x 14'.
Often, businesses choose a hanging vinyl banner to promote a grand opening, sale, new product or service, or that they are hiring. You'll also see these banners used by food trucks, nonprofit organizations, craft show booths, school events, service providers, retail stores, restaurants, and more.
Retractable Banners
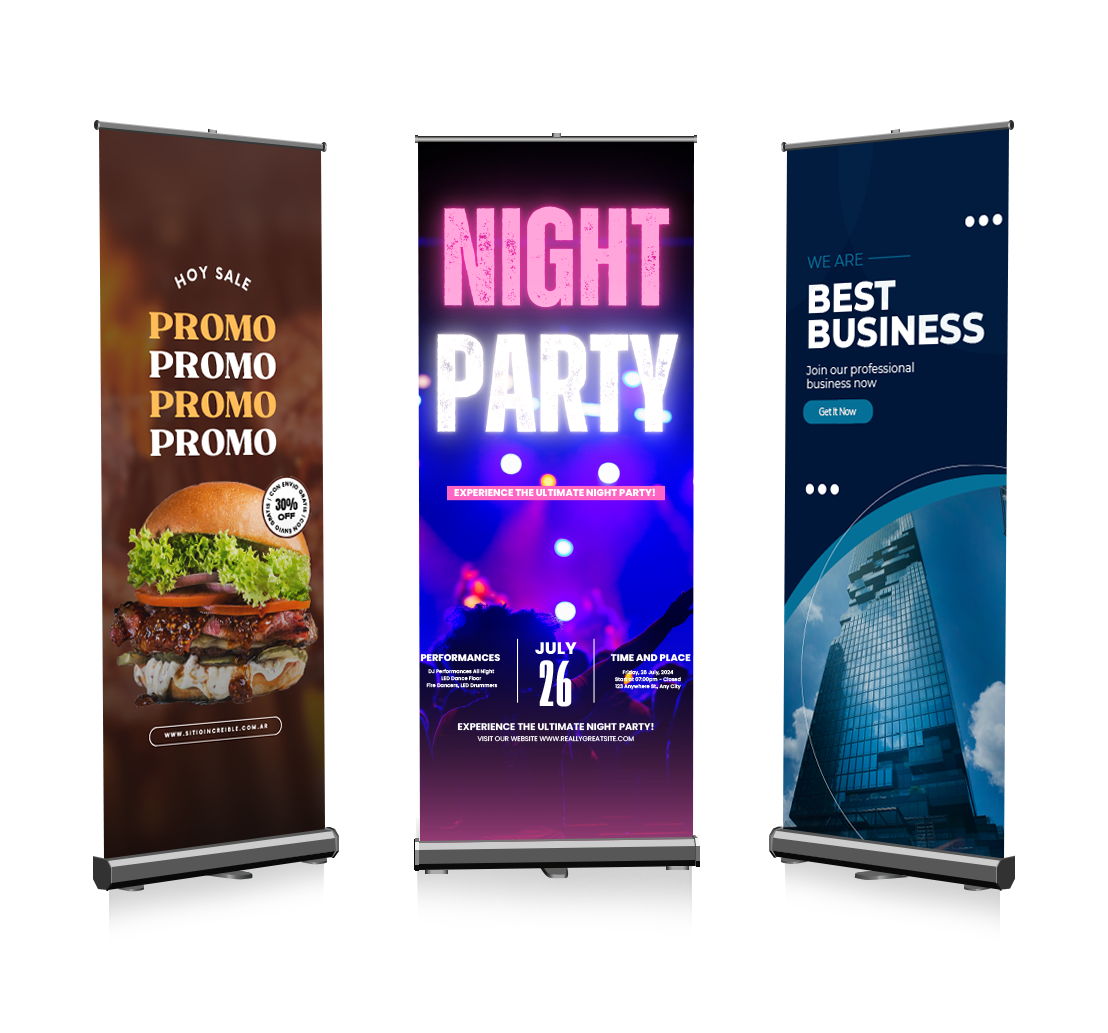
Retractable banners, or popup or rollup banners, are ideal for displaying your banner at tradeshows, events, outside your storefront, exhibitions, school or church events, charity events, or point-of-purchase signage. This type of banner is portable, lightweight, and simple to set up, making it perfect for travel and on-the-road events, concerts, or trade shows. Retractable banners are crafted from heavy-duty polyester vinyl and have a unique stand that effortlessly rolls out the banner to display as a stand-alone sign and easily rolls back up for travel or storage. The standard size for retractable banners is 33.5" x 80", making them large enough to stand out and attract anyone passing by.
X-Stand Banners
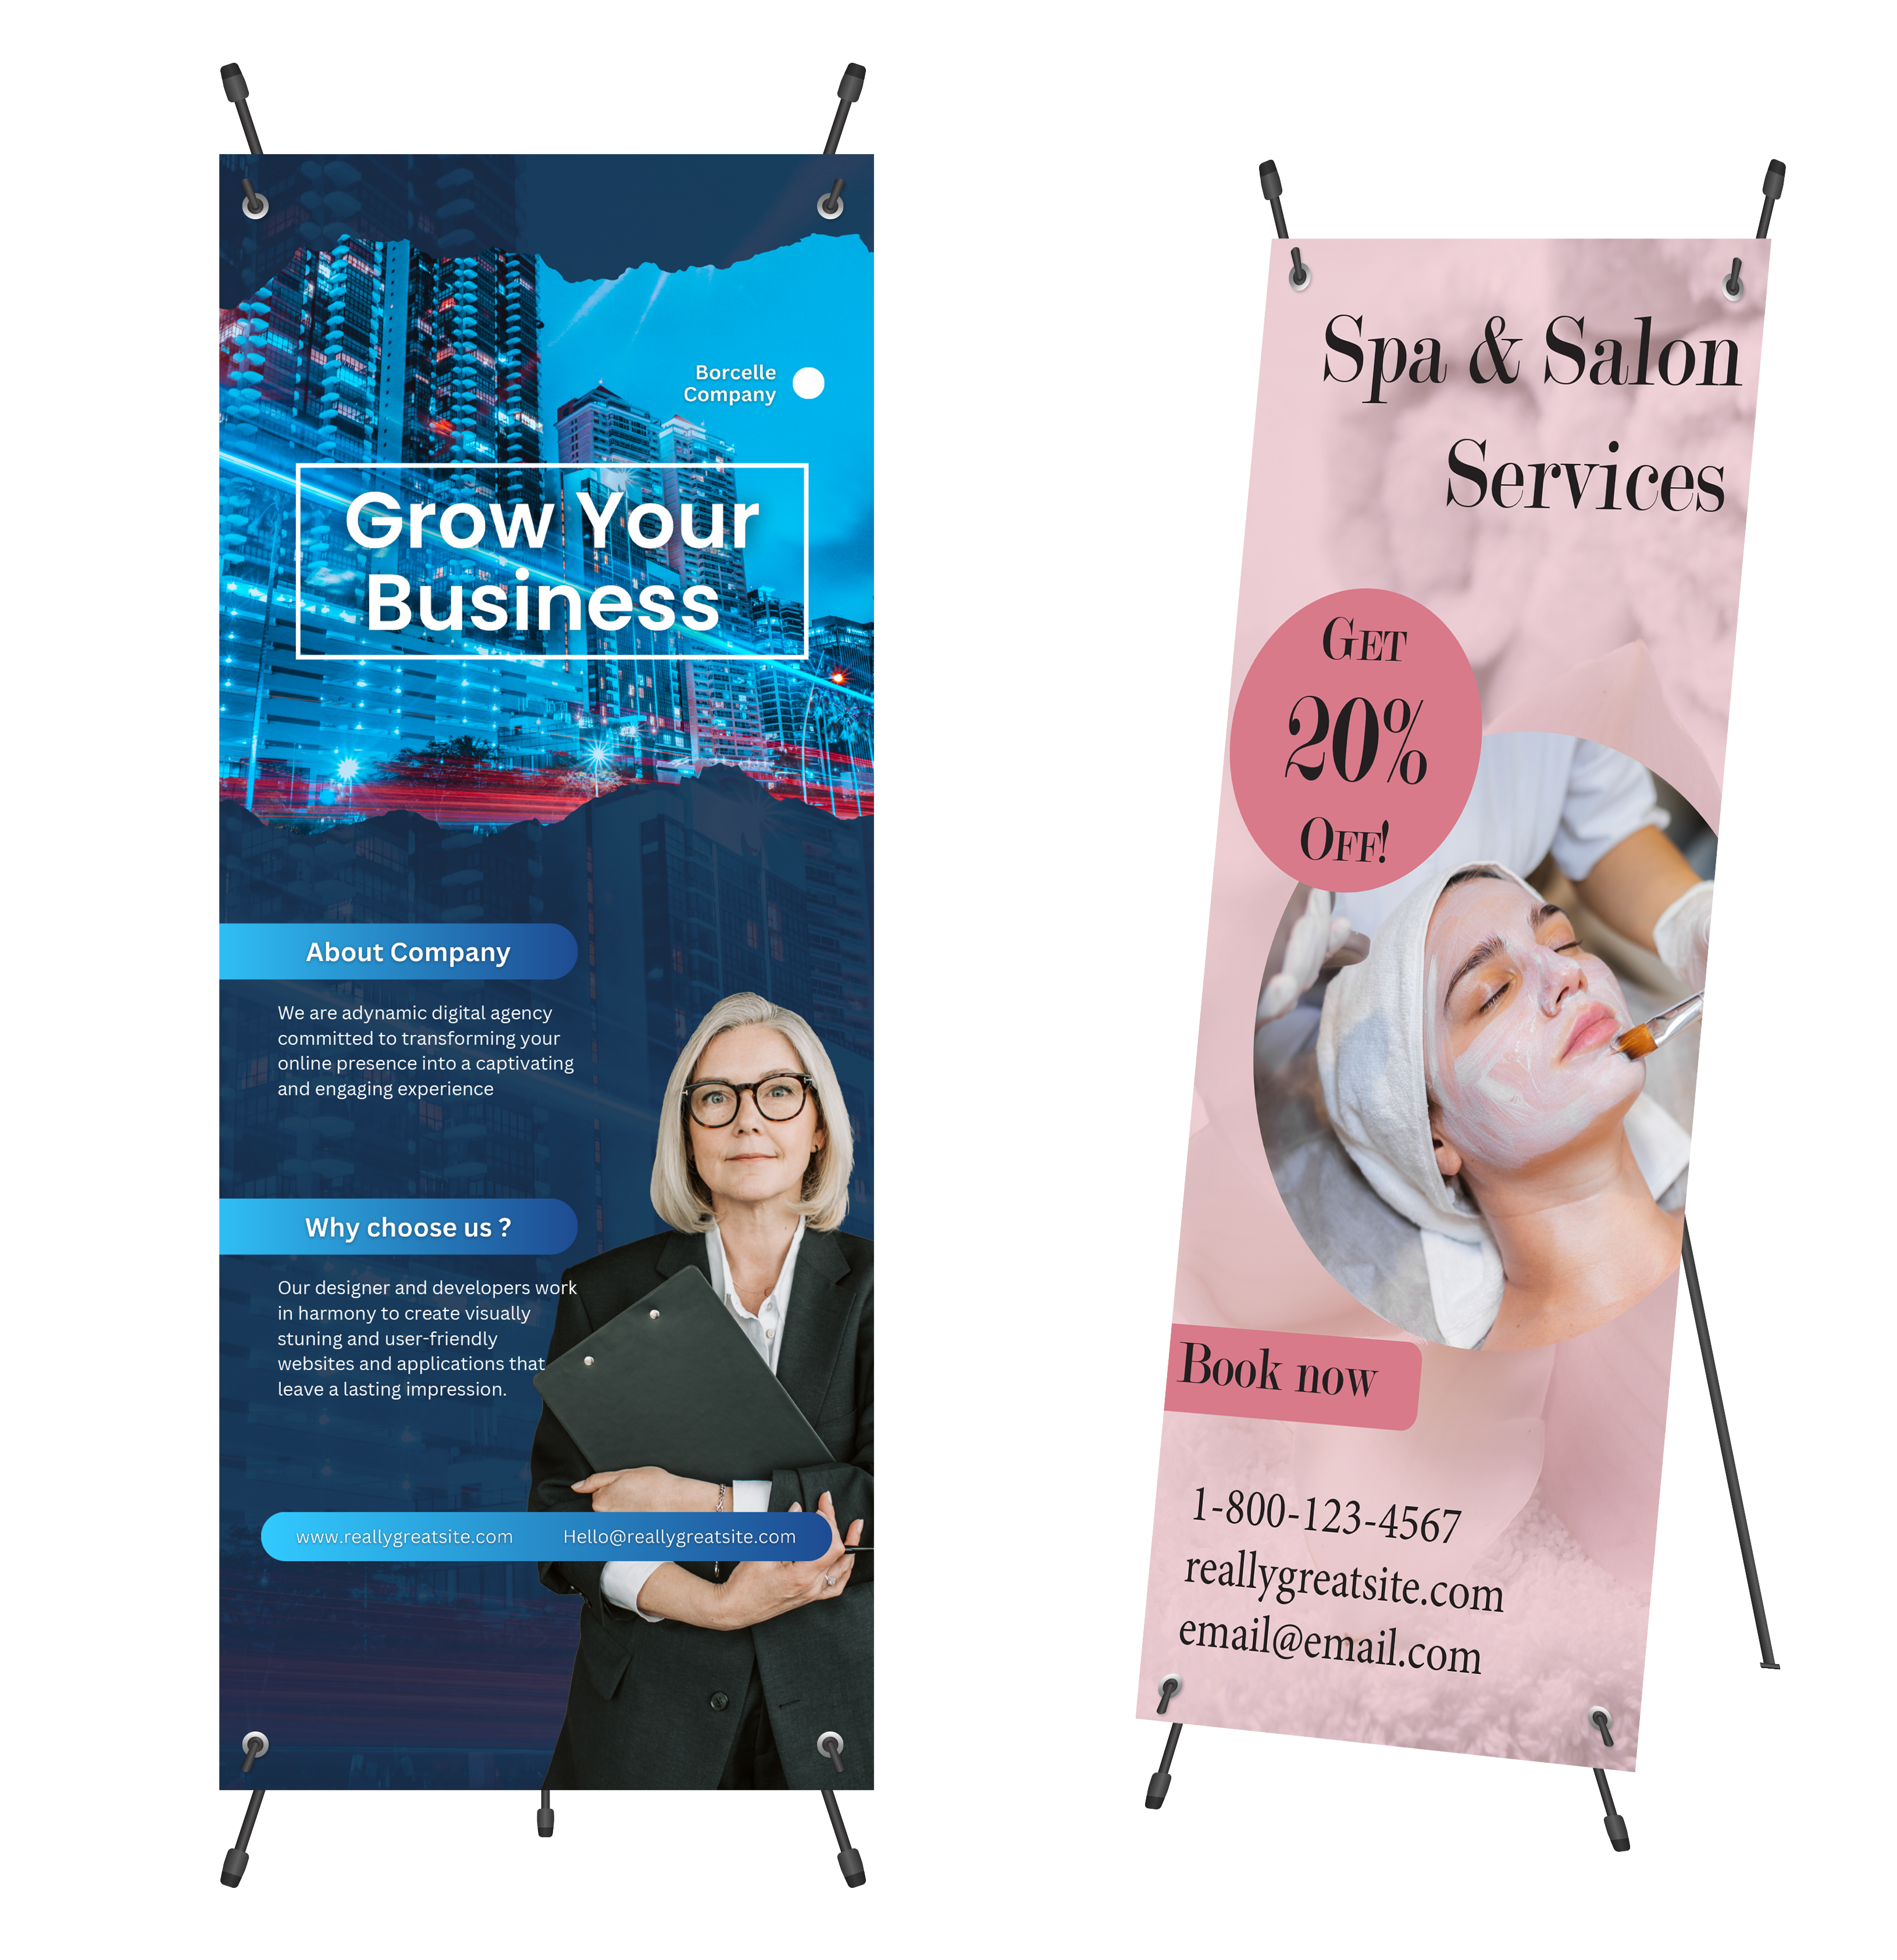
X-Stand Banners, also known as x-banners or x-frame banners, are extremely lightweight, cost-effective custom signs. They are made from vinyl and attach to their x-stand via hooks through grommets at each corner of the banner, making it easy to assemble, remove, and replace the sign from the stand as needed. Custom x-stand banners come in 31.5" x 79" or 33.5" x 80". Both sizes offer a large canvas for effectively advertising your message and brand, even from far distances. X-stand banners have similar uses as retractable banners as they are portable and easy to display, making them ideal for tradeshows, promotions, and other events. However, because they are significantly cheaper than retractable banners, they are commonly ordered by smaller businesses or businesses that require a standing banner but have a smaller marketing budget.
Step 3: Choose Your Banner Design Elements
Sometimes, banner designs don't require any imagery and may instead just include a message like "Grand Opening," Now Hiring," or "50% Off Everything." Still, other times, imagery and graphics can make your banner stand out and effectively deliver its message.
If photos or other graphics could elevate your banner design, choose imagery that reflects your target audience and aligns with your brand. In addition, don't include too many images. While banners are large-scale custom signs, too many photos and design elements can overwhelm your message and turn away the reader.
Feature design elements that align with what you are promoting. For example, if you're promoting your car wash, you could include an image of a clean car. If you're advertising your hair salon, feature a photo of a customer who just had their hair done by you. Or, if you're promoting your pizza restaurant, feature an image of a delicious slice of pizza.
In addition to choosing the right images and graphics, you should also ensure that your logo and other branded elements are consistent with your other marketing materials to strengthen brand recognition.
Step 4: Select the Right Font
When making a banner for your business, the font you choose should be easy to read and large enough to read from a distance. For example, some cursive fonts can be challenging to make out, and if your audience needs to squint to read your banner from across the street, the font size is too small. Banners are meant to catch the eye of anyone passing by and quickly deliver its message. So, in addition to choosing an easy-to-read font and a large enough font size, you also want to keep your message short. Instead of a paragraph of text, just include a single call to action. If your sign requires you to include more details than one sentence, try to keep the content limited. For example, if you're promoting your service, you could list some quick bullet points of the benefits your service offers.
Step 5: Colors & Contrast
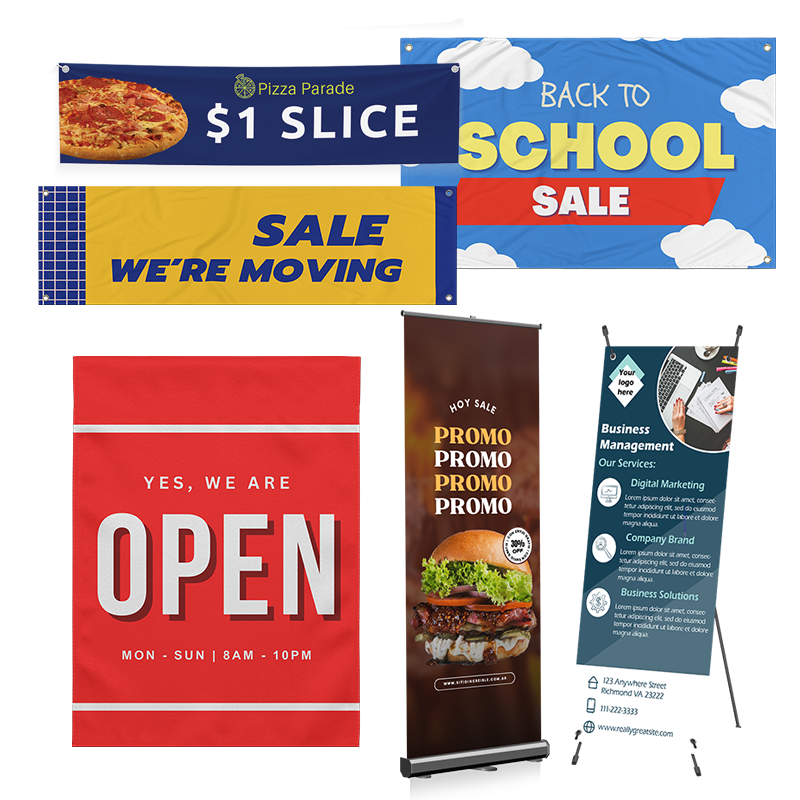
When selecting the colors for your banner, choose colors that align with your brand and message. For example, if your brand colors are yellow and navy blue, use those colors within your banner design. Or, if you're promoting a holiday event, choose colors that align with your event. For example, a Halloween event might use black and orange, while a patriotic event might use red, white, and blue.
In addition, you must ensure your banner has high contrast to enhance readability and make your sign stand out. For example, choose light-colored text and design elements on a dark background and dark colors for light backgrounds.
Step 6: Focus on Layout & Print Specs
When laying out your banner design in your design platform, make sure your file is set up to use CMYK rather than RGB, and set the file size to the size of the banner you will order. For example, if you're ordering a 4' x 10' banner, your design file should be set to 4' x 10'. Make your headline or call to action the main focus when laying your elements out. For example, for a "Now Open" banner, the words "Now Open" should be large, bold, and fill up most of the sign. If you're promoting an event, make the event name the main focus and the location, date, and time the second focus. From there, you can place your imagery and other design elements in a way that emphasizes your main message. In addition, keep text and other elements around 1" away from the edge of the sign. This will ensure that important design elements aren't lost when the grommets are inserted or when the sign is assembled on its stand.
Step 7: Print & Display Your Banner
Once you have created your banner design, it's time to print and display it. To print at the highest quality, make sure to export your banner design as a PDF. From there, you can order your banner directly from your printer's banner product page or contact them to request a quote. When ordering your banner, you'll need to know the time frame of when you will need your banner, the quantity of banners you will need, the size, whether you need single or double-sided printing, if you need grommets or pole pockets, and what type of banner you want. From there, you'll be able to order your custom banner successfully and quickly and display it to begin promoting your message effectively.
A well-designed and displayed banner has the potential to attract new customers and draw attention to your business. At Conquest Graphics, we offer various banner options, including various sizes, types, and finishes, and we can even help with the design. If you're ready to order your banners for your business, click below to get instant pricing today. Or feel free to call us at any time at 800-707-9903.
Order Your Custom Banners Today!
